Phase 7 - Using WordPress as an Integrated FTP
A Guide on VPS Cloud Server Deployment using Debian 11

INDEX:
Phase 1 - Executive Summary
Phase 2 - Prerequisites
Phase 3 - Deploy A Server
Phase 4 - Core Server Configuration
Phase 5 - Deploy an Apache website
Phase 6 - Full Stack Server Configuration
Phase 7 - Using WordPress as an Integrated FTP
Phase 8 - Install SMTP Mail Server
Create a MariaDB Database and User for WordPress
To get started, SSH into the server:
ssh samson@209.50.61.62open up the MariaDB prompt as the root account:
sudo mariadbBegin by creating a new database that WordPress will control. You can call this whatever you would like but, to keep it simple for this guide, I will name it media
Create the database for WordPress by typing:
CREATE DATABASE mediadb DEFAULT CHARACTER SET utf8 COLLATE utf8_unicode_ci;Create this account, set a password, and grant the user access to the database you just created with the following command. Remember to choose a strong password for your database user:
GRANT ALL ON mediadb.* TO 'samsondbuserhere'@'localhost' IDENTIFIED BY '5am50n_DB_pa55w0rd!h3r3';You now have a database and user account, each made specifically for WordPress. Run the following command to reload the grant tables so that the current instance of MariaDB knows about the changes you’ve made:
FLUSH PRIVILEGES;Exit out of MariaDB by typing:
EXIT;Installing Additional PHP Extensions
Download and install some of the most popular PHP extensions for use with WordPress by typing:
sudo apt install php-curl php-gd php-mbstring php-xml php-xmlrpc php-soap php-intl php-zipYou can restart Apache now by typing:
sudo systemctl restart apache2Exit your SSH session for a little bit while we work out of the terminal:
exitAdjusting Apache’s Configuration to Allow for .htaccess Overrides and Rewrites
we will need to have a configuration file for our site in the /etc/apache2/sites-available/ directory. We’ll use /etc/apache2/sites-available/media.archiveninja.com.conf here, but you should substitute the path to your configuration file where appropriate.
Additionally, we will use /var/www/media.archiveninja.com as the root directory of our WordPress install.
Let’s get started, my logging back into our DNS Account and make a couple new records for this site: name.com
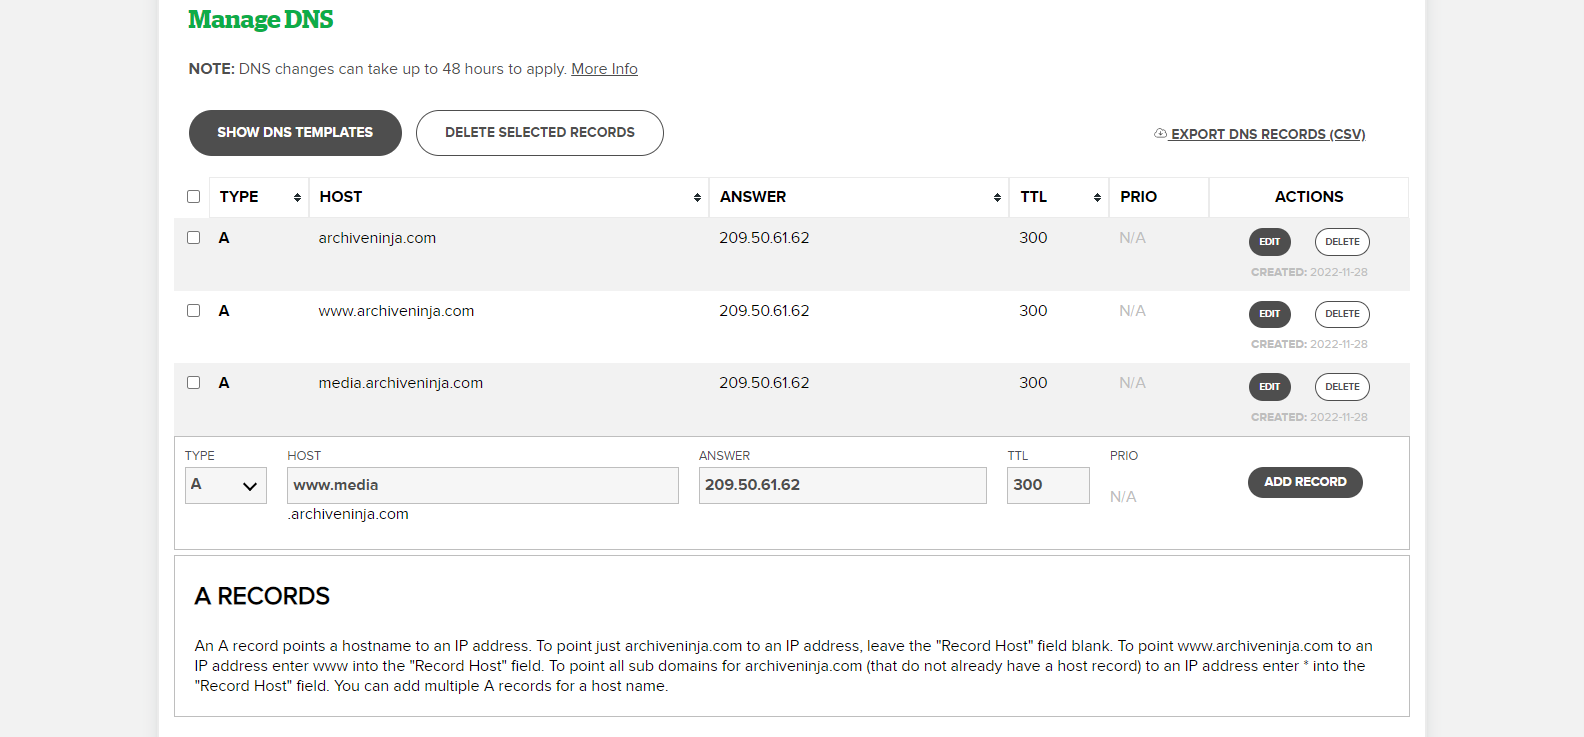
Add two more “A Records” just like we did in in Phase 5 but these two will be:
TYPE------------HOST----------ANSWER:
A              media          209.50.61.62     (<--your server IP)
A             www.media       209.50.61.62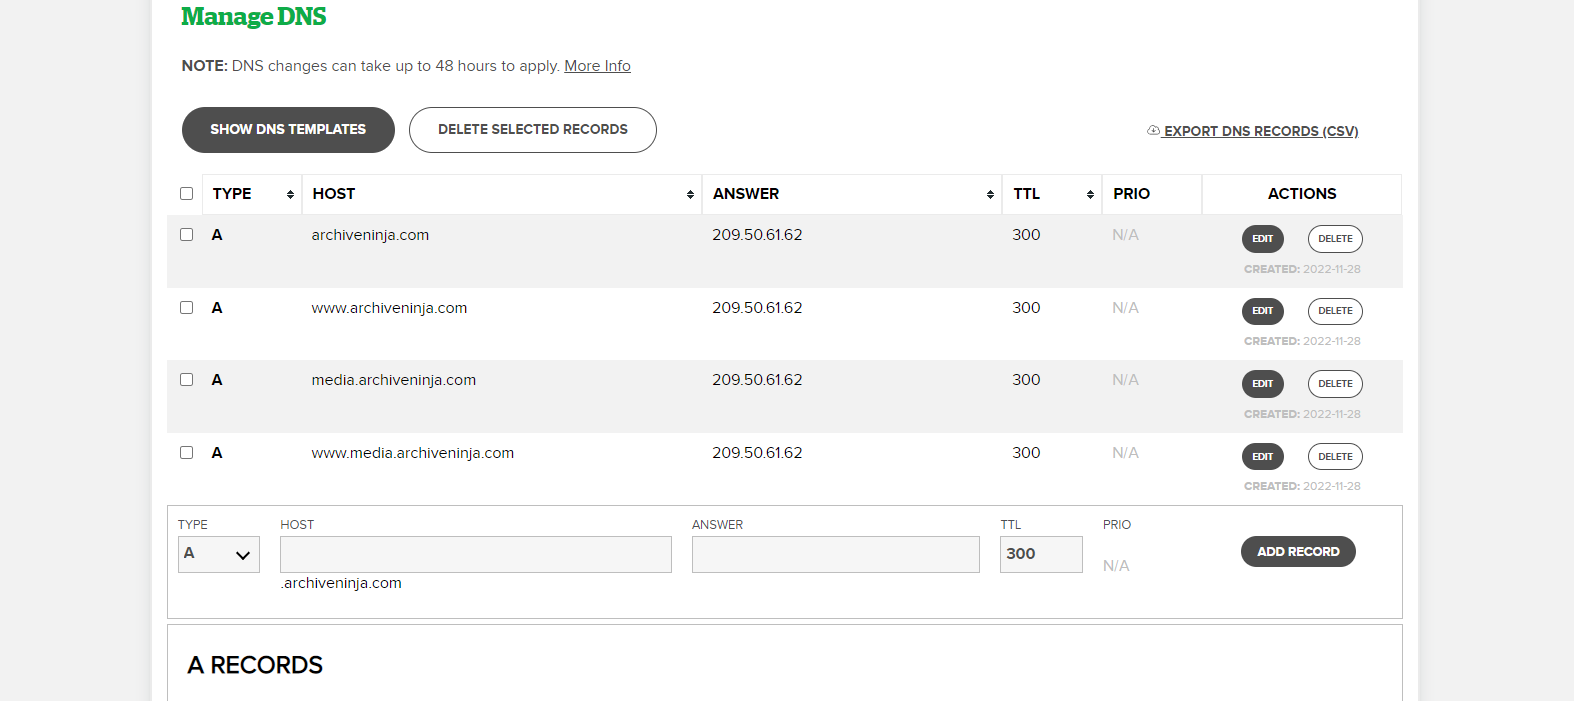
We are just adding a subdomain media.archiveninja.com and www.media.archiveninja.com This subdomain will have WordPress installed so we can use it to host images and files for any site on our server. I use this in place of SCP & FTP because I can upload media from any device signed into that WordPress admin.
Now SSH back into the server:
ssh samson@209.50.61.62Make the directory for the media site:
sudo mkdir -p /var/www/media.archiveninja.com/public_htmlNow make the Apache server’s config file for the additional site:
sudo nano /etc/apache2/sites-available/media.archiveninja.com.confNow paste in the same template we used in Phase 5, but this time uncomment the <directory code: (substitute your site’s url)
<VirtualHost *:80>
    ServerAdmin info@treyark.com
    ServerName media.archiveninja.com
    ServerAlias www.media.archiveninja.com
    DocumentRoot /var/www/media.archiveninja.com/public_html
    ErrorLog ${APACHE_LOG_DIR}/error.log
    CustomLog ${APACHE_LOG_DIR}/access.log combined

    # The directory block below will be used for WP mod rewrites later
    # it also helps with archiving websites in wordpress

  <Directory /var/www/media.archiveninja.com/public_html/>
          AllowOverride All
  </Directory>

</VirtualHost>
REMEMBER to check for those extra characters at the end we don't want pasted like “~”
When you are finished, save and close the file.
Next, enable the rewrite module in order to utilize the WordPress permalink feature:
sudo a2enmod rewriteBefore implementing the changes you’ve made, check to make sure that you haven’t made any syntax errors:
sudo apache2ctl configtestRestart Apache to implement the changes:
sudo systemctl restart apache2Downloading WordPress
We will use curl to download WordPress, but this program may not be installed by default on your Debian server. To install it, run:
sudo apt install curlChange into a writable directory and then download the compressed release.
Change Directory to /tmp:
cd /tmpNow download the WP release:
curl -O https://wordpress.org/latest.tar.gzExtract the compressed file to create the WordPress directory structure:
tar xzvf latest.tar.gzWe will move these files into our document root momentarily. Before we do, though, add a dummy .htaccess file so that this will be available for WordPress to use later.
Create the file by typing:
touch /tmp/wordpress/.htaccessThen copy over the sample configuration file to the filename that WordPress actually reads:
cp /tmp/wordpress/wp-config-sample.php /tmp/wordpress/wp-config.phpAdditionally, create the upgrade directory so that WordPress won’t run into permissions issues when trying to do this on its own following an update to its software:
sudo mkdir /tmp/wordpress/wp-content/upgradeThen, copy the entire contents of the directory into your document root. Notice that the following command includes a dot at the end of the source directory to indicate that everything within the directory should be copied, including hidden files (like the .htaccess file you created):
sudo cp -a /tmp/wordpress/. /var/www/media.archiveninja.com/public_htmlConfiguring the WordPress Directory
Before we can go through the web-based setup process for WordPress, we need to adjust some items in our WordPress directory.
Start by giving ownership of all the files to the www-data user and group. This is the user that the Apache web server runs as, and Apache will need to be able to read and write WordPress files in order to serve the website and perform automatic updates.
Update the ownership with chown:
sudo chown -R www-data:www-data /var/www/media.archiveninja.com/public_htmlNext we will run two find commands to set the correct permissions on the WordPress directories and files:
sudo find /var/www/media.archiveninja.com/public_html/ -type d -exec chmod 750 {} \;sudo find /var/www/media.archiveninja.com/public_html/ -type f -exec chmod 640 {} \;Following this, you will need to make some changes to the main WordPress configuration file.
When you open the file, your first objective will be to adjust some secret keys to provide some security for your installation. WordPress provides a secure generator for these values so that you do not have to try to come up with good values on your own. These are only used internally, so it won’t hurt usability to have complex, secure values here.
To grab secure values from the WordPress secret key generator, type:
curl -s https://api.wordpress.org/secret-key/1.1/salt/You will get back unique values that look something like this:
...
define('AUTH_KEY',         '1jl/vqfs<XhdXoAPz9 DO NOT COPY THESE VALUES c_j{iwqD^<+c9.k<J@4H');
define('SECURE_AUTH_KEY',  'E2N-h2]Dcvp+aS/p7X DO NOT COPY THESE VALUES {Ka(f;rv?Pxf})CgLi-3');
define('LOGGED_IN_KEY',    'W(50,{W^,OPB%PB<JF DO NOT COPY THESE VALUES 2;y&,2m%3]R6DUth[;88');
define('NONCE_KEY',        'll,4UC)7ua+8<!4VM+ DO NOT COPY THESE VALUES #`DXF+[$atzM7 o^-C7g');
define('AUTH_SALT',        'koMrurzOA+|L_lG}kf DO NOT COPY THESE VALUES  07VC*Lj*lD&?3w!BT#-');
define('SECURE_AUTH_SALT', 'p32*p,]z%LZ+pAu:VY DO NOT COPY THESE VALUES C-?y+K0DK_+F|0h{!_xY');
define('LOGGED_IN_SALT',   'i^/G2W7!-1H2OQ+t$3 DO NOT COPY THESE VALUES t6**bRVFSD[Hi])-qS`|');
define('NONCE_SALT',       'Q6]U:K?j4L%Z]}h^q7 DO NOT COPY THESE VALUES 1% ^qUswWgn+6&xqHN&%');
...
These are configuration lines that you will paste directly into your configuration file to set secure keys. Copy the output you received to your clipboard, and then open the WordPress configuration file located in your document root:
sudo nano /var/www/media.archiveninja.com/public_html/wp-config.phpFind the section that contains the dummy values for those settings. It will look something like this:
. . .

define('AUTH_KEY',         'put your unique phrase here');
define('SECURE_AUTH_KEY',  'put your unique phrase here');
define('LOGGED_IN_KEY',    'put your unique phrase here');
define('NONCE_KEY',        'put your unique phrase here');
define('AUTH_SALT',        'put your unique phrase here');
define('SECURE_AUTH_SALT', 'put your unique phrase here');
define('LOGGED_IN_SALT',   'put your unique phrase here');
define('NONCE_SALT',       'put your unique phrase here');

. . .
comment out these lines and paste in the values you copied from the command line:
. . .
/* <--this comments everython out that comes after it
define('AUTH_KEY',         'put your unique phrase here');
define('SECURE_AUTH_KEY',  'put your unique phrase here');
define('LOGGED_IN_KEY',    'put your unique phrase here');
define('NONCE_KEY',        'put your unique phrase here');
define('AUTH_SALT',        'put your unique phrase here');
define('SECURE_AUTH_SALT', 'put your unique phrase here');
define('LOGGED_IN_SALT',   'put your unique phrase here');
define('NONCE_SALT',       'put your unique phrase here');
this ends the comment lines --> */

define('AUTH_KEY',         '1jl/vqfs<XhdXoAPz9 DO NOT COPY THESE VALUES c_j{iwqD^<+c9.k<J@4H');
define('SECURE_AUTH_KEY',  'E2N-h2]Dcvp+aS/p7X DO NOT COPY THESE VALUES {Ka(f;rv?Pxf})CgLi-3');
define('LOGGED_IN_KEY',    'W(50,{W^,OPB%PB<JF DO NOT COPY THESE VALUES 2;y&,2m%3]R6DUth[;88');
define('NONCE_KEY',        'll,4UC)7ua+8<!4VM+ DO NOT COPY THESE VALUES #`DXF+[$atzM7 o^-C7g');
define('AUTH_SALT',        'koMrurzOA+|L_lG}kf DO NOT COPY THESE VALUES  07VC*Lj*lD&?3w!BT#-');
define('SECURE_AUTH_SALT', 'p32*p,]z%LZ+pAu:VY DO NOT COPY THESE VALUES C-?y+K0DK_+F|0h{!_xY');
define('LOGGED_IN_SALT',   'i^/G2W7!-1H2OQ+t$3 DO NOT COPY THESE VALUES t6**bRVFSD[Hi])-qS`|');
define('NONCE_SALT',       'Q6]U:K?j4L%Z]}h^q7 DO NOT COPY THESE VALUES 1% ^qUswWgn+6&xqHN&%');
. . .
Next, modify the database connection settings at the top of the file. You need to adjust the database name, the database user, and the associated password that you’ve configured within MariaDB.
The other change you must make is to set the method that WordPress should use to write to the filesystem. Since we’ve given the web server permission to write where it needs to, we can explicitly set the filesystem method to “direct”. Failure to set this with our current settings would result in WordPress prompting for FTP credentials when you perform certain actions.
This setting can be added below the database connection settings
. . .

define('DB_NAME', 'mediadb');

/** MySQL database username */
define('DB_USER', '5am50ndbuserhere');

/** MySQL database password */
define('DB_PASSWORD', '5am50n_DB_pa55w0rd!h3r3');

. . .

define('FS_METHOD', 'direct');
Save and close the file when you are finished.
Enable the website:
sudo a2ensite media.archiveninja.com.confFinally, you can finish installing and configuring WordPress by accessing it through your web browser:
...
https://server_domain_or_IP
...media.archiveninja.comDeploy SSL Certificate
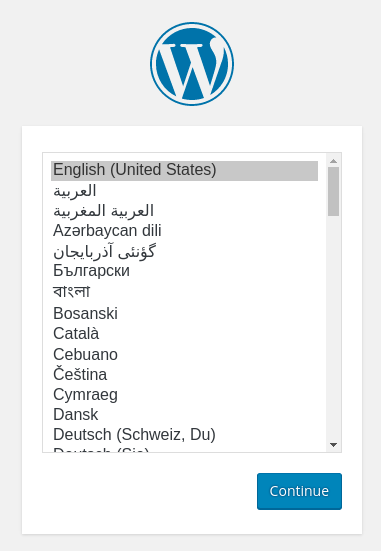
sudo certbot --apache -d media.archiveninja.com -d www.media.archiveninja.comCompleting the Installation Through the Web Interface
Select the language you would like to use:
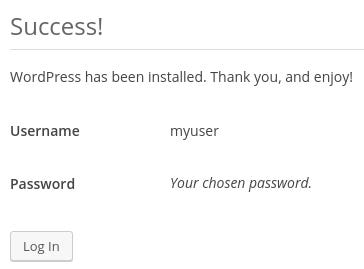
Next, you will come to the main setup page. Select a name for your WordPress site and choose a username (it is recommended not to choose something like “admin” for security purposes). A strong password is generated automatically. Save this password or select an alternative strong password.
Enter your email address and select whether you want to discourage search engines from indexing your site:
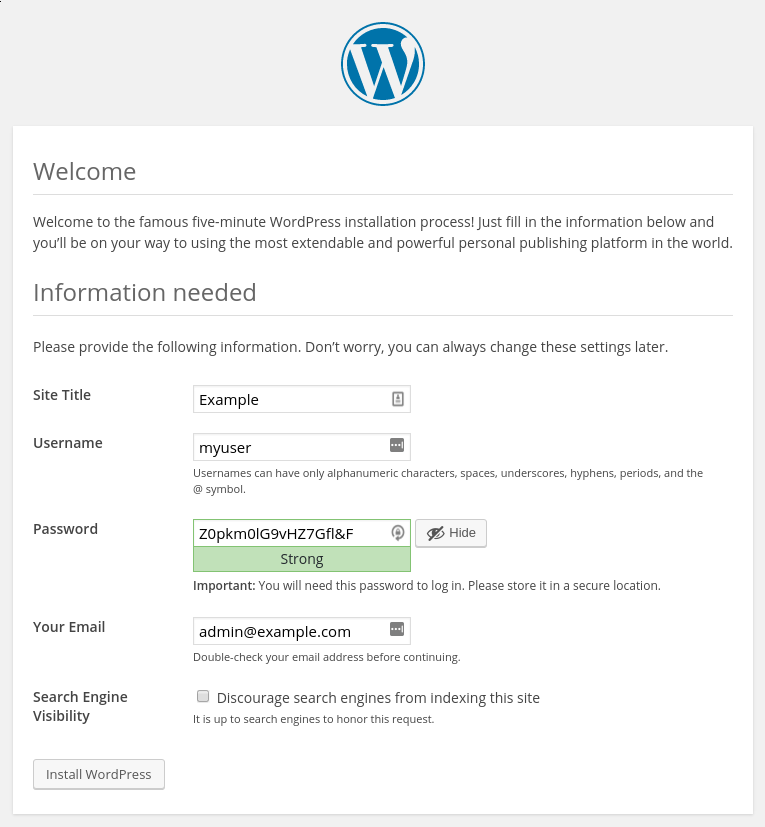
When ready, click the Install WordPress button. You’ll be taken to a page that prompts you to log in:
Once you log in, you will be taken to the WordPress administration dashboard:
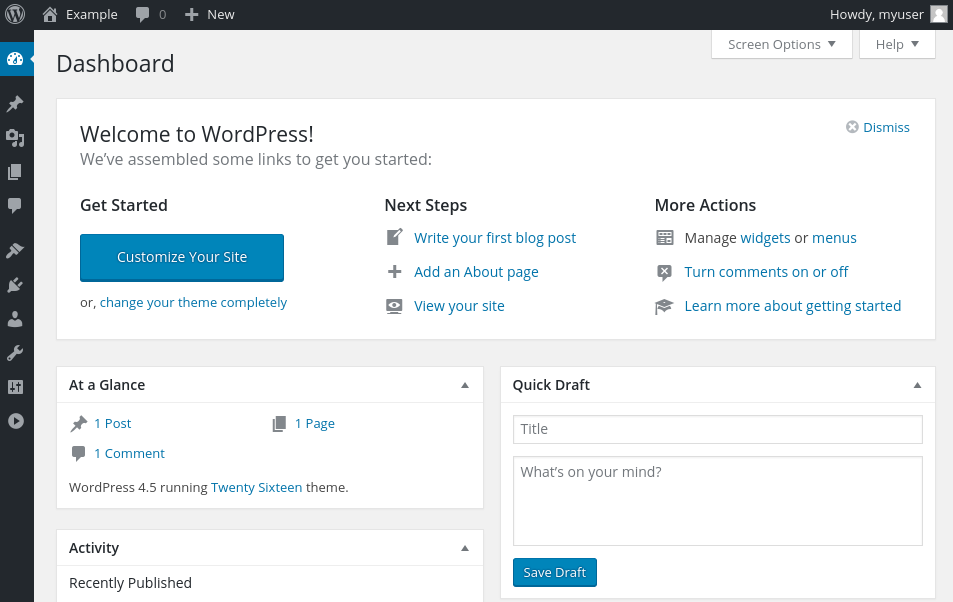
Our WordPress installation is now complete.
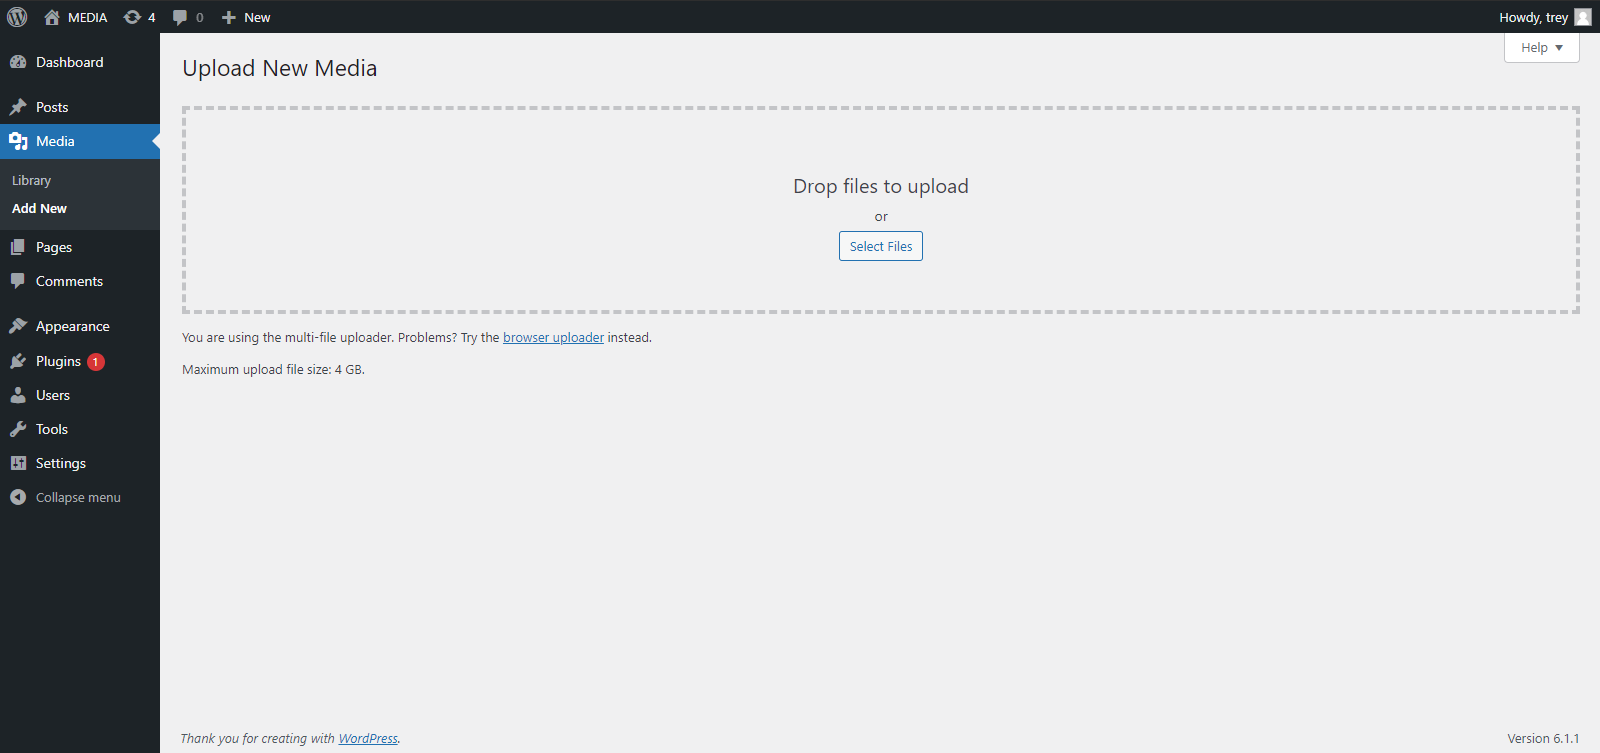
I usually click on the media tab on the left menu then bookmark it for uploading media on the fly.
Brief Demonstration of Media Hosting on multiple sites.
in your WordPress admin upload an image
copy the url
https://media.treyark.com/wp-content/uploads/2022/12/2015-10-12-21.40.08.jpg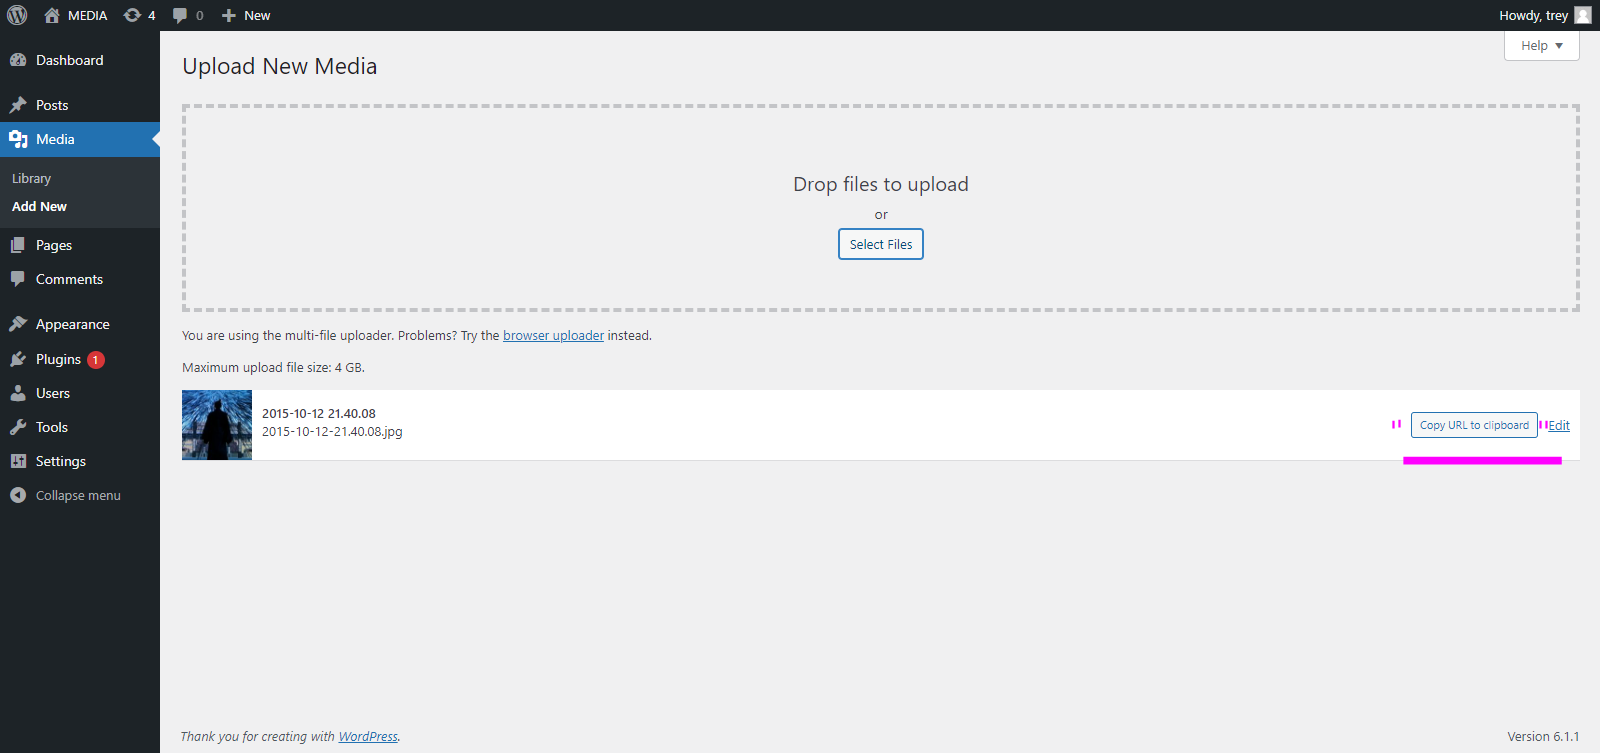
now add this link to your CSS file you made here earlier:
sudo nano /var/www/archiveninja.com/public_html/styles.csslike this:
from
...
body{
  background-image: url('https://media.treyark.com/wp-content/uploads/2022/11/Hero-036.jpg');
  background-size: cover;
  height: 100vh;
  display: flex;
}
...
to
...
body{
  background-image: url('https://media.treyark.com/wp-content/uploads/2022/12/2015-10-12-21.40.08.jpg');
  background-size: cover;
  height: 100vh;
  display: flex;
}
...
you can do this with any site you make on your server or anywhere else on the internet for that matter.
Note: If you need to cd & ls (change directory & list files) in our WordPress directory you will now need to as sudo because of ownership changes we are about to make. You can use this command to switch to the “Sudo Shell” then “exit” back to your regular user when done.
sudo -s-More coming up in Phase 8 which is due Mid December 2022-
We will discuss this topic in more detail, as well as diving into SMTP Mail Server configuration.
Thank you for reading!
Thank you for following along & hope this was worth your time
Feel free to share any questions thought’s & suggestions. This project will be going through refinement over the next few months.
Thank you to everyone who contributed to the source material I used, especially the writers at Digital Ocean.
I will be adding their names to the executive summary soon.
Best,
Lance Pierson-